This document describes how to setup an L2TP VPN connection on a Windows 10 PC.
Note: where you see values that are underlined and italicized, enter the value specific to your configuration, such as usernames and passwords.

Navigate to the Network and Internet section.

Click "Add A VPN Connection"

Enter the connection information
VPN Provider: Windows (built-in)
Connection Name: VPN
Server Name or Address: server.domainname.com
VPN Type: L2TP/IPsec with pre-shared key
Pre-shared key: xxxxxxxxxxxxxxx
Type of sign-in info: User name and Password
User name (optional): username
Password (option): password
Remember my sign in info: checked.
Click Save, then connect.
Once you're connected, then we have to change the DNS suffix. Click "Change adapter options" in the right column of the VPN section of the settings.
Right-click the VPN connection and select properties.
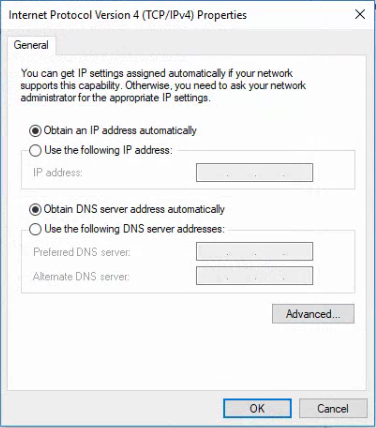
Navigate to the Networking tab of the properties dialog, select Internet Protocol version 4 and click the properties button below it.
Click the advanced button on the IPv4 properties dialog.
Navigate to the DNS tab. In the box next to "DNS suffix for this connection" type windowsdomain.local (actual value varies with your configuration).
Click the OK button on all three boxes and then you're ready to use the connection.