Use the registry to auto-login to Windows 10.
Edit registry files
- Press Windows Key + R to open Run.
- Type regedit and click OK to open the Registry Editor.
- In the Registry Editor navigate to the following location:
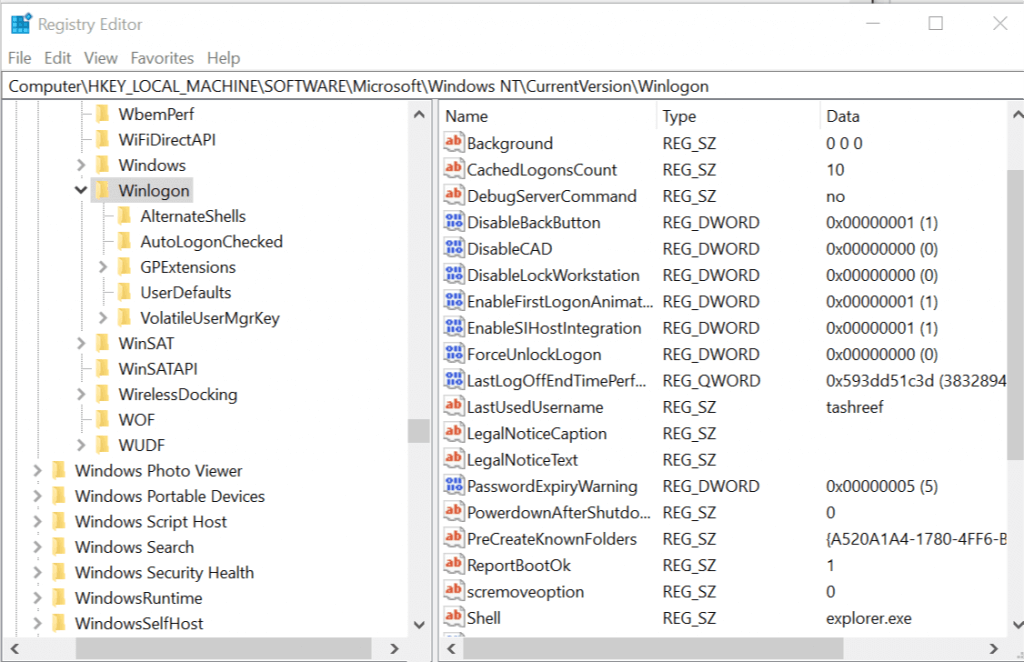
HKEY_LOCAL_MACHINE\SOFTWARE\Microsoft\Windows NT\CurrentVersion\Winlogon
- From the right-pane, double-click on DefaultUserName entry.
- Type your user name and click OK.
- Next, double-click on the DefaultPassword entry. Type your password and click OK.
- In case the DefaultPassword entry does not exist, you need to create it manually. Here is how to do it. If you see the DefaultPassword entry, jump to step 11.
- On the Edit menu, click New and select String Value.
- Name it as DefaultPassword and hit enter.
- Double-click DefaultPassword, type your password and click OK.
- On the Edit menu, click New and select String Value.
- Name it as AutoAdminLogon and hit enter.
- Double-click on AutoAdminLogon entry.
- In the Edit String box, type 1 in the Value field and click OK.
- Exit Registry Editor.
- Restart your computer. You can now log on automatically without entering the password.